Jul 23, 2020 David Weber Academy
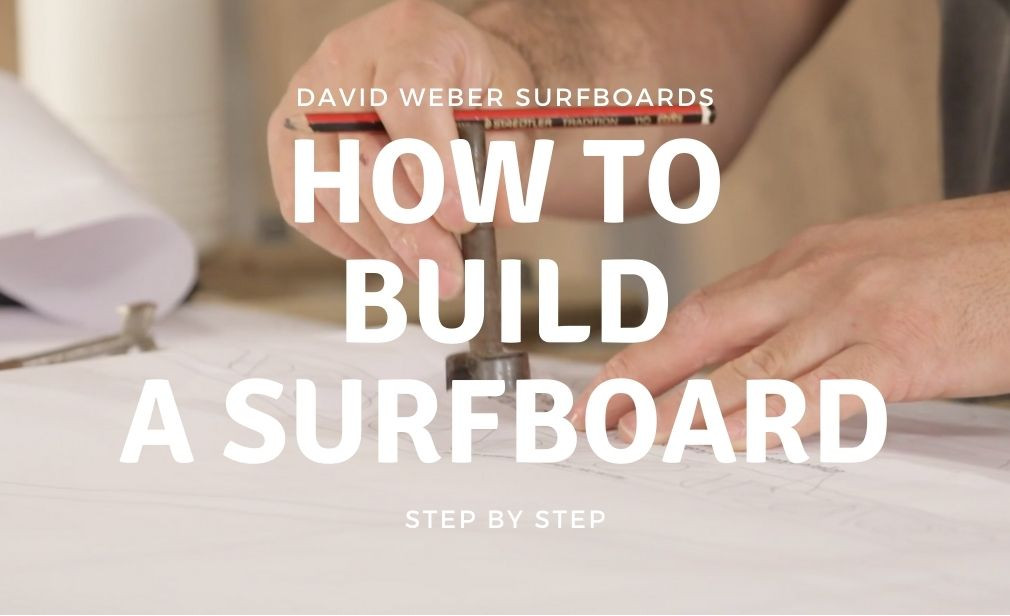
How to build a surfboard
Increasingly highlighted in the surfing scenario, wooden surfboards, like any other type of surfboards, can be built using different methods.
1. Hollow Wooden Surfboards
2. Solid Wooden Surfboards (Chambered)
3. Alaias (100% solid)
In this post, I will comment in-depth on the process of building 1. Hollow Wooden Surfboards. The focus will be on this method due to its popularity and performance.
How to build a Hollow Wooden Surfboards
David Weber Surfboards method
Where to start? Well, I will explain here in the same way that I teach in my Workshops. It all starts with the design of your wooden surfboards, that is, the dimensions (width, thickness, length), curves (rocker, dome deck), bottom contours (flat, s. Concave, d. Concave, V bottom, channel ), tail (squash, round, swallow, square, diamond, bat), positioning and placement of the fins (single fin, twin-fin, three-fin, quad-fin), edges (60/40, 50/50), among others shape elements.
“Many people still think that building a wooden surfboard would be something in which you “ create ” a shape while getting your hands dirty. But in reality, what we do is “find” the shape while we get our hands dirty! After designing the board on the computer, the project is exported and converted into a skeleton, which will be the board's internal structure. So, the elements of the shape are all already contained in the skeleton. So we must “find”, and not “create” the shape wnile we get the hands dirty"
So, the first step to start building your wooden plank is the project.
After finalizing the design of your board - usually done in 3D CAD software specific to surfboards - you must export the project so that the board you are viewing is converted into the skeleton, which is the internal support structure of the board. Here the coolest parts begin, which is to transform the project already exported and converted into reality! And then find a way to cover this thin wooden internal structure with more wood! The second stage of the process, then, consists of exporting the design of your board, generating the design of an internal structure, which I will call a skeleton
CLICK HERE FOR JOINING THE NEXT CLASS OF ONLINE SURFBOARDS COURSE
“When I talk about the David Weber Surfboards method of building wooden surfboards, this is what I mean - the act of producing the skeleton and covering it with wood in the most optimized, sustainable, and with the best possible performance. Designing the board on the computer is very simple compared to the whole process that lies ahead - it is clear that designing the plank is an extremely important task, including, I have always tried to produce the most functional shapes for the wooden surfboards of my quiver, and for this required many years of testing with different types of surfers; both professionals and amateurs.
However, several shapers in the world achieve very satisfactory results in this sense of computerized designs for conventional surfboards. Now, few shapers in the world have managed to find a revolutionary way to build surfboards, that is, a fast, sustainable, light, durable and performance process. This is changing now, people are increasingly valuing handmade, sustainable work, and this has opened up space for wooden surfboards.”
The third step is the making of the skeleton, that is, turning the exported project into reality. For this, we can do it manually or using a CNC machine, so that we get a fully finished skeleton, cut precisely with the support of a computer. That's how I make my boards, but if you don't have access to this type of service, don't worry: you can cut it manually, and it looks just as perfect! This part I cover in Lesson 0 of the Online Surfboard Building Workshop. I called it Lesson 0 because only students who make the skeleton manually will use this class. Those who get the previously cut skeleton, just like I do, can jump directly to Lesson 1.
The fourth step is to build and glue the bottom of the board. Here, we leave the skeleton aside and make the choice and separation of wooden planks, so that they reach the board in length and width. Remember that the length of the planks must be greater than the size of the board, as these boards will undergo a curvature to suit the rocker of the board.
The fifth step is to glue the bottom to the skeleton. Here at this stage, the board begins to take shape, it is already possible to visualize some elements of the shape such as the bottom curves and the rocker. But how do we make this curve, or rocker, in the wood? Anyone who has tried to bend wood at any time in their lives knows what I'm talking about ... This is an extremely complicated task, so we use a tool that makes this job as easy as possible so that anyone can perform it, without any previous experience. That tool is the Rocker Table. The rocker table is part of the 2 essential tools needed for the construction of hollow wooden surfboards, the other is the Shape Stand, which will be used right after the board leaves the rocker table, until the end of the process. The Rocker Table and Shape Stand projects are included in our Online Course, so you only have to worry about the cool part of the whole process!
After at least 12h of drying (the drying time will vary according to temperature, humidity ...) the board comes out of the press, and then we start the sixth stage, which consists of building the rails. This part is one of the most different among wooden surfboards shapers: each one uses a different method. I have tried several of them myself, but I ended up consolidating myself in a method that I invented. This way I developed to build the rails of the surfboard relieves a lot of weight since we don't use extra wood in unnecessary places, as is done in other methods. That way, you can't just sculpt the rails as you "want" it, but as it was designed!
“Modern wooden surfboards are very smart objects, just like their creators - of course. There is nothing gross or crooked here. Quite the contrary, since it is an handmade process, the consequence is a product far superior to one made in an industrial process. There are many parallels and examples here. I will use the two main ones that I see in my head: cars and guitars.
Do you think the best cars and guitars in the world are made industrially or handmade? So, I feel informing you but the best cars and guitars in the world are handmade. Mercedes Benz, for example, has an exclusive line of cars called AMG (the most powerful ones are here), where the car of that line is assembled by hand, by one person. The car's engine carries a sign with the name of the responsible engineer and his signature. Thus, an appreciation of handmade products that is often hidden from the eyes of lay people.”
The seventh step of the process consists of gluing the deck (top). Here again, we will use the rocker table, which will adjust both the board rocker and its dome deck.
After waiting for the drying time, we removed the board from the press, which will no longer be used on that board - however, it remains useful for the construction of any other board you may design; infinite surfboards can be built with a rocker table.
At this stage of the process, the board has its shape still rough, here we make some modifications in order to make the shape increasingly smooth and similar to the initial design. This is one of the parts that my students like the most ... So the eighth stage of the process consists of the shape of the surfboard.
This ends the David Weber Surfboards Construction Method, which is the entire process of "creating" and "machining" the board until the final Shape. However, the board is not yet ready to go into the water. Glassing, hot coat, and installation of plugs and fins are still missing. This part of the process is not only common to conventional boards, but it also requires a lot of waiting time due to the drying time of the resin. Only here we have at least more 72 hours of waiting while the resin dries between the different stages, which makes it impossible for me to include these stages in the Presential Workshops (3 days long).
The Presential Workshops are 3-day courses that I teach my students all of the steps described above. In addition to learning the whole method and all the secrets, you build your own board during the course! That's right, you learn while getting your hands dirty, and as a bonus, you even take your board home. And before you think that this may not be for you, that your board may not look good, remember what I said at the beginning of this article: we will “find” the shape, and not “create it” during the course. The shape you are going to build has already been created by me and perfected by our team of surfers. Tested and approved also by our students, who today surf daily with the boards they built with their own hands, this course is suitable for anyone, of any age, gender, and level of engagement with surfing or joinery.
And for those who want to invest a little less, without even having to leave home, we present the Online Surfboards Workshop. Project created in 2018 by me and my team, where we dedicated years in the making of a course that could be as didactic and effective as the classroom course, and that was even more complete, because now we would not have time as a limiting factor. In this online course, in addition to delivering all the secrets of building a high-performance wooden surfboard (as well as presential courses), I also teach the process that follows: Lamination (glassing), Hot Coat, Installation of fins and plugs, and Final finishing. Today, we already have many students building their boards with me, remotely, and the coolest thing of all is that I see these students as satisfied as to the students of the classroom courses. This project, started in 2018, was a complete success, delivering everything it promised (and even a little more!).
If you also want to build your own wooden surfboard, either simply by living this incredible experience or by pursuing a new hobby or profession, then come and be part of our Wood Surfboard Shaper community.